Lists help you organize candidates into collections, share them with your team, and manage talent pipelines effectively.
What you'll learn
- Create and manage candidate lists
- Share lists with your team
- Add and remove candidates
- Organize your talent pipeline
Overview
Lists are collections of candidates that help you:
- Organize searches: Save interesting candidates from AI matching results
- Track pipelines: Create lists per job, client, or recruitment stage
- Share with team: Collaborate by sharing lists with organization members
- Export selections: Manage groups of candidates for bulk actions
Creating Your First List
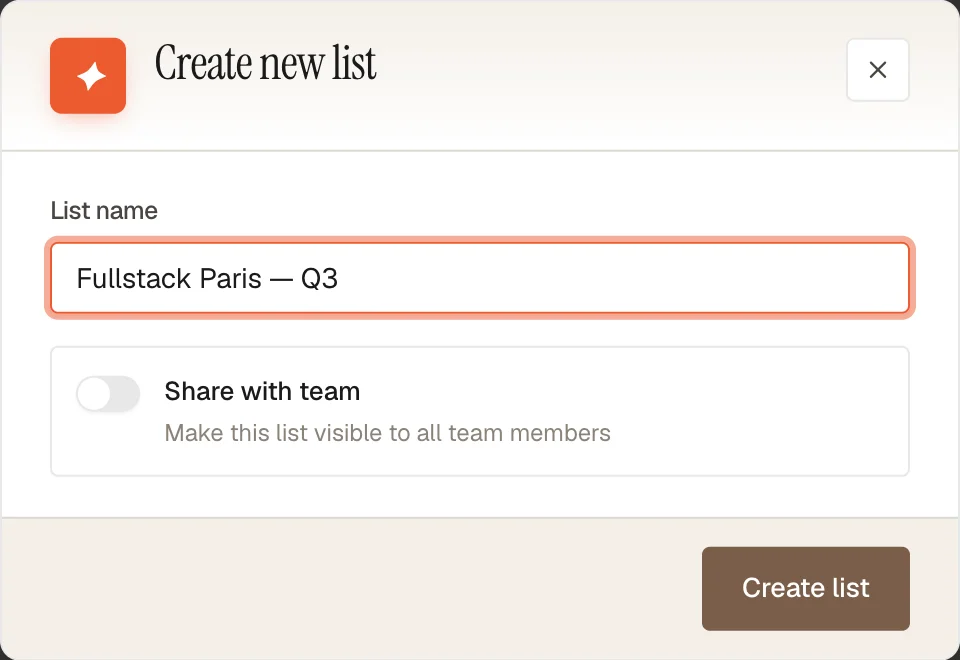
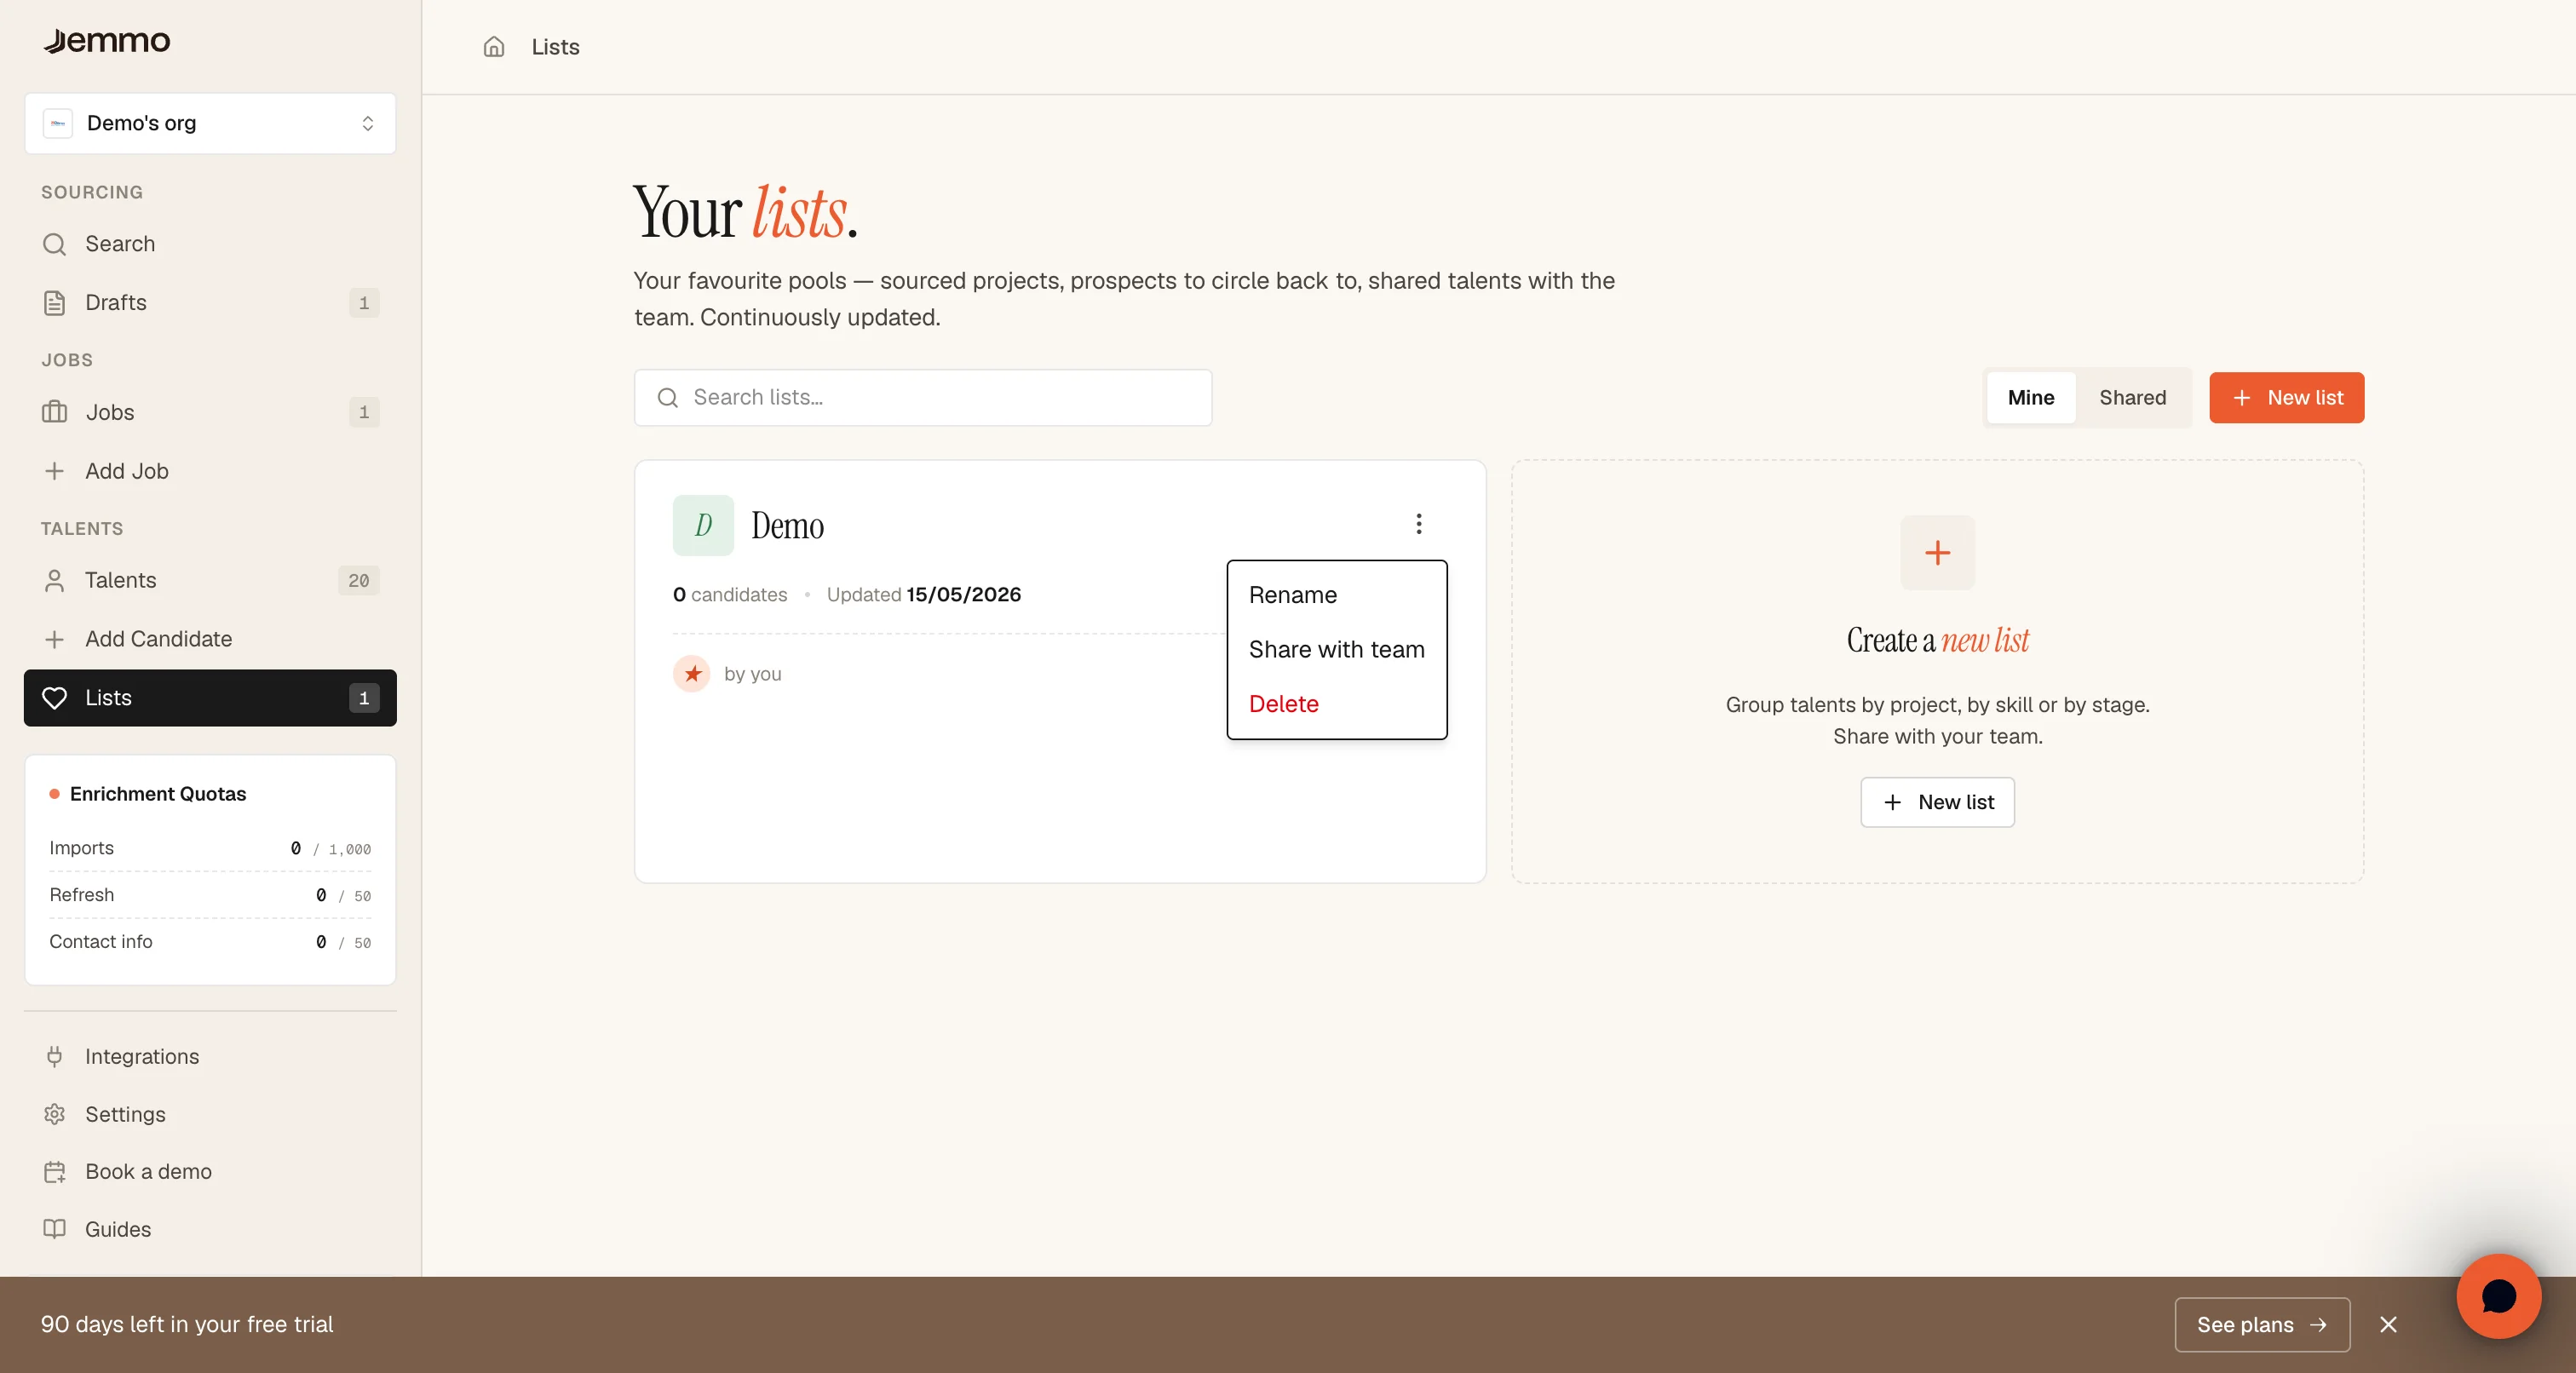
From the Lists Page
- Navigate to Lists in the sidebar
- Click the New list button (plus icon) in the top right
- Enter a name for your list
- Optionally enable Share with team to make it visible to all organization members
- Click Create list
From Search Results
When viewing AI matching results, you can create a list directly when adding candidates:
- Select candidates using the checkboxes
- Click Add to list in the selection bar
- Choose New list and enter a name
- Click Add candidates
Managing Lists
List Actions
Each list card has an actions menu (three dots) with the following options:
Rename: Change the list name at any time
Share with team / Make private: Toggle list visibility:
- Private (default): Only you can view and modify the list
- Shared: All organization members can view the list and its candidates
Delete: Permanently remove the list (candidates are not deleted, only removed from the list)
Sharing Lists
Lists can be shared with your entire organization at any time:
To share a list:
- Click the actions menu (three dots) on your list card
- Click Share with team
- The list now appears in the Shared tab for all team members
To make a shared list private:
- Click the actions menu on a shared list you own
- Click Make private
- The list is now visible only to you
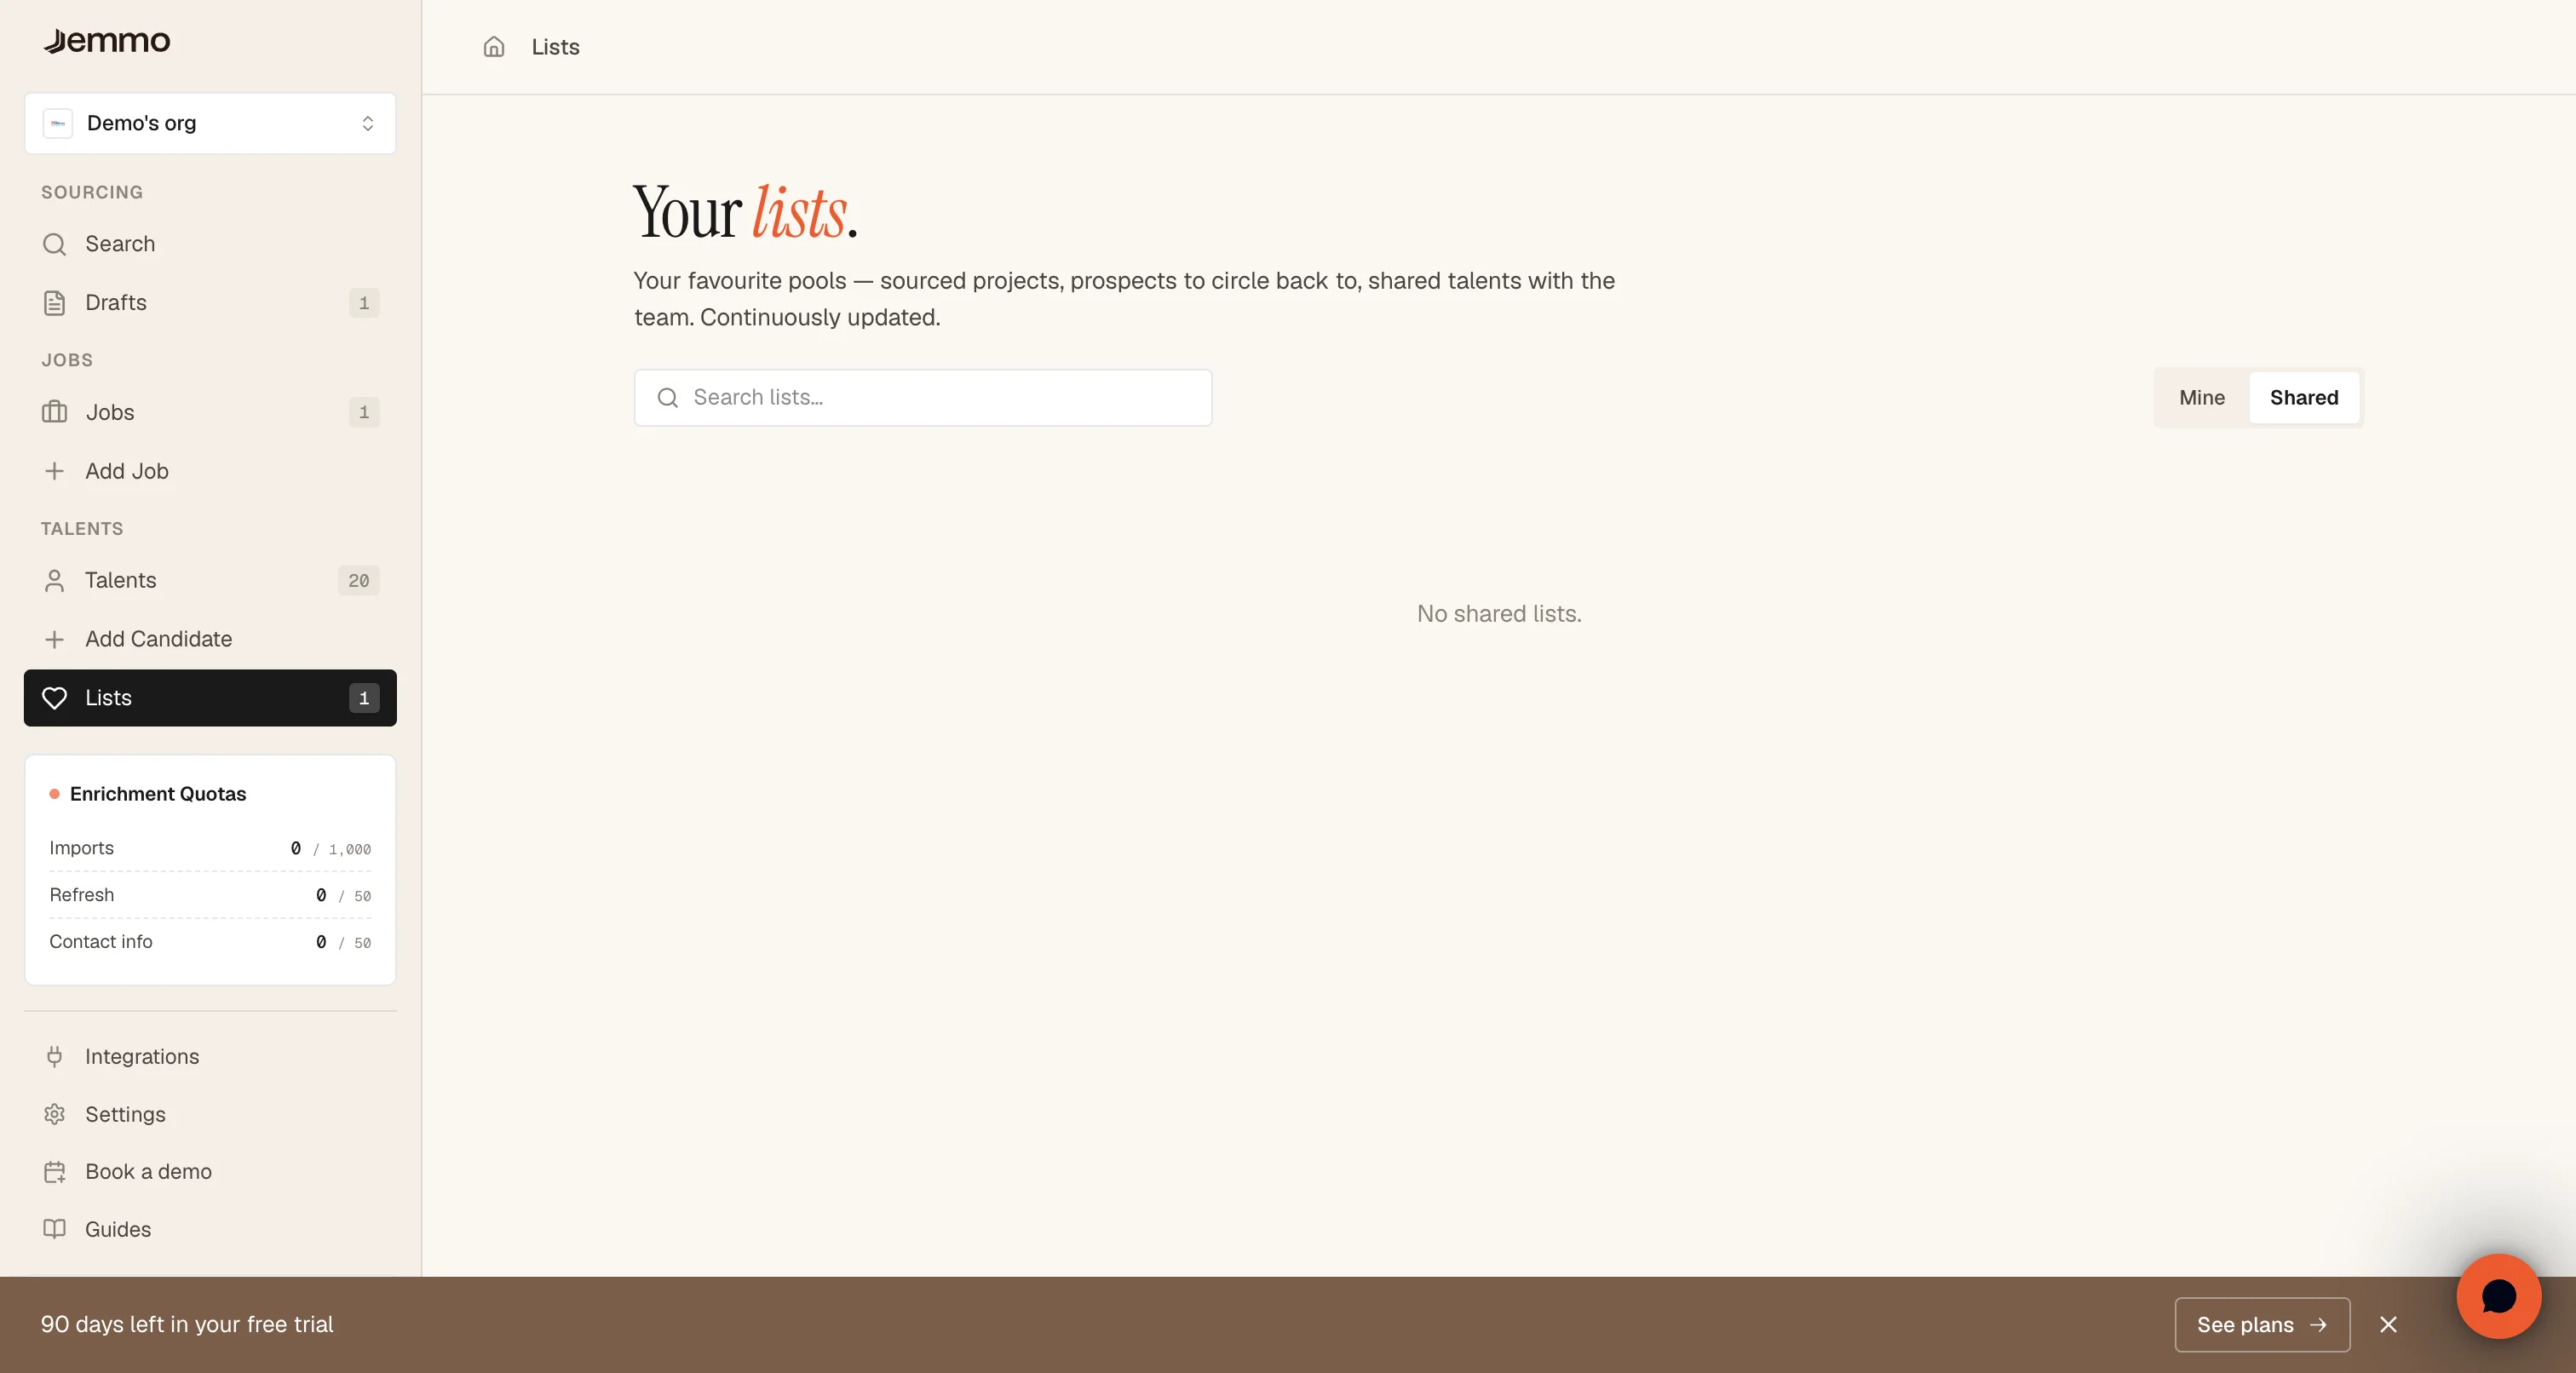
Viewing shared lists:
- Switch to the Shared tab to see lists shared by your teammates
- You can view and add candidates to shared lists (if you have permissions)
- Shared lists display a Shared badge and show who created them
Adding Candidates to Lists
From Search Results
After running an AI search:
- Select candidates using the checkboxes on the left of each profile
- A selection bar appears at the bottom showing the number of selected candidates
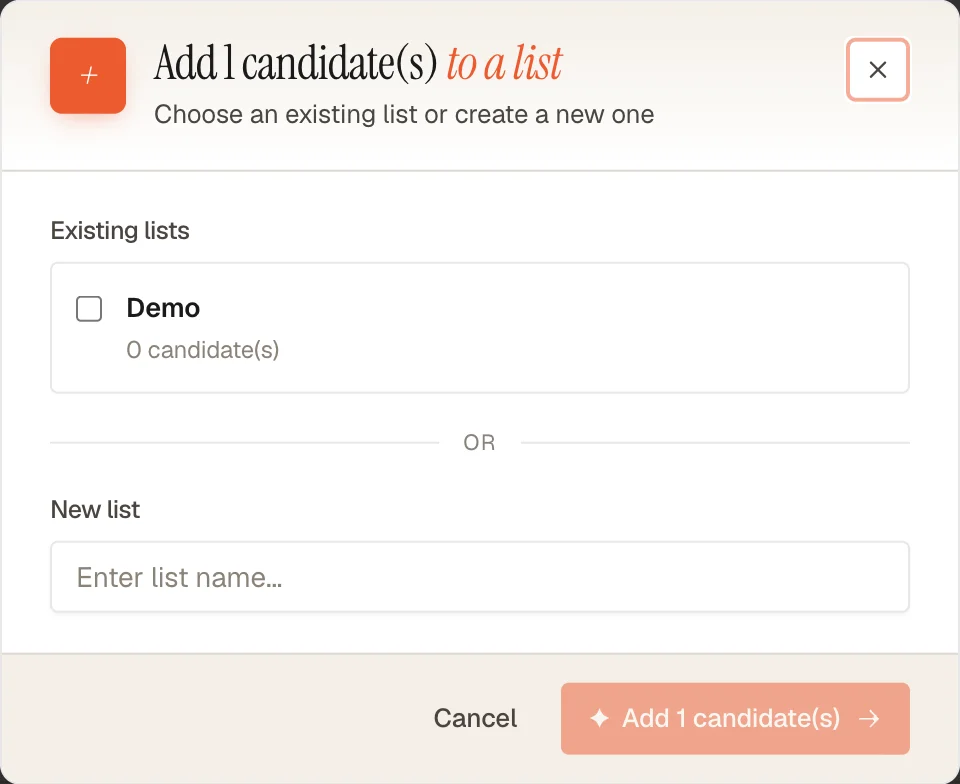
- Click Add to list
- Choose an existing list or create a new one
- Confirm to add the candidates
From a Talent Profile
When viewing an individual talent profile:
- Click the Add to list button
- Select an existing list or create a new one
- The candidate is immediately added
Bulk Import
You can add multiple candidates at once:
- Select multiple profiles in search results
- Use the selection bar to add all selected candidates to the same list
- Duplicates are automatically prevented (same candidate won't be added twice)
Viewing a List
Click on any list card to view its contents:
List detail page shows:
- Total number of candidates in the list
- Candidate cards with key information (name, title, location, skills)
- Checkbox selection for bulk actions
- Actions to remove individual candidates from the list
Removing Candidates
To remove a candidate from a list:
- Navigate to the list detail page
- Click the Remove button on the candidate card, OR
- Select multiple candidates and use the selection bar
Removing a candidate from a list does not delete their profile — they remain in your talent pool.
List Organization Tips
Naming Conventions
Use clear, descriptive names:
- By job:
Senior Frontend Developer - Q1 2024 - By client:
Client ABC - Engineering Roles - By stage:
Interviewed - Marketing Positions - By status:
To Contact - Data Scientists
Recommended Structure
For effective talent pipeline management:
Per Job Approach:
- Create one list per active job posting
- Add candidates from AI matching results
- Move candidates between lists as they progress
Per Client Approach:
- One list per client organization
- Subdivide by role type if needed
- Useful for recruitment agencies
Per Stage Approach:
To Review: Initial AI matching resultsShortlisted: Candidates to contactInterviewed: After first interviewOffer Stage: Final candidates
Best Practices
Keep Lists Focused
- Create specific lists rather than one large list
- Archive or delete old lists after hiring decisions
- Use clear naming to find lists quickly
Leverage Sharing
- Share lists with team members working on the same role
- Use shared lists for collaborative review processes
- Make lists private for sensitive or confidential searches
Regular Maintenance
- Remove candidates who are no longer relevant
- Update list names as roles evolve
- Clean up completed lists after successful hires
Faq
Can a candidate be in multiple lists?
Yes. The same candidate can be added to unlimited lists. This is useful for tracking candidates across different roles or stages.
What happens when I delete a list?
Only the list is deleted, not the candidates. Their profiles remain in your talent pool. This action cannot be undone.
Who can see my lists?
- Private lists: Only you can view and edit
- Shared lists: All organization members can view
Can I merge two lists?
Not directly. To merge lists:
- Open the first list and select all candidates
- Add them to the second list
- Delete the first list if no longer needed
Is there a limit to the number of lists?
No. You can create unlimited lists to organize your talent pipeline as needed.
Can I export a list?
Lists can be used for bulk actions within the platform. Export features may be available depending on your subscription plan.